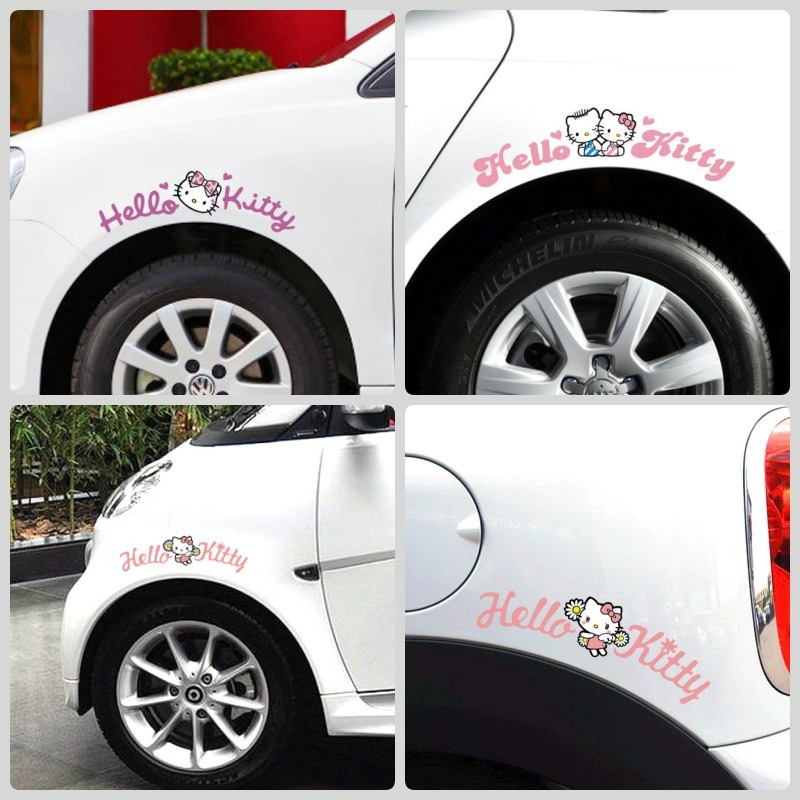
Adding personality and flair to your vehicle, Hello Kitty car stickers have become a fun and trendy way to showcase individual style. However, applying these decals incorrectly can lead to potential damage to your car’s paint, causing frustration and costly repairs. This comprehensive guide aims to provide a step-by-step approach to applying Hello Kitty car stickers without harming your vehicle’s surface, while also tackling common challenges and offering maintenance tips.
Choosing the Right Hello Kitty Car Stickers for Your Vehicle
Before you begin the application process, selecting the right type of Hello Kitty car stickers is crucial. Quality varies greatly between stickers, so investing in high-quality decals will make a significant difference in the application process and the longevity of the stickers.
Opt for vinyl stickers rather than lower-quality paper options, as vinyl adheres better to auto surfaces and resists weather conditions. Ensure that the stickers you choose are specifically labeled as car decals, as these are designed to withstand environmental elements such as UV rays, rain, and temperature fluctuations. Look for decals with strong adhesive backing that won’t damage the paint upon removal.
Consider the design, colors, and size of the stickers, ensuring they complement the vehicle’s aesthetics while fitting perfectly in the designated space. Checking customer reviews can provide insights into the sticker’s durability and appearance once applied. With the right Hello Kitty car stickers on hand, you are set to start the application process carefully and efficiently.
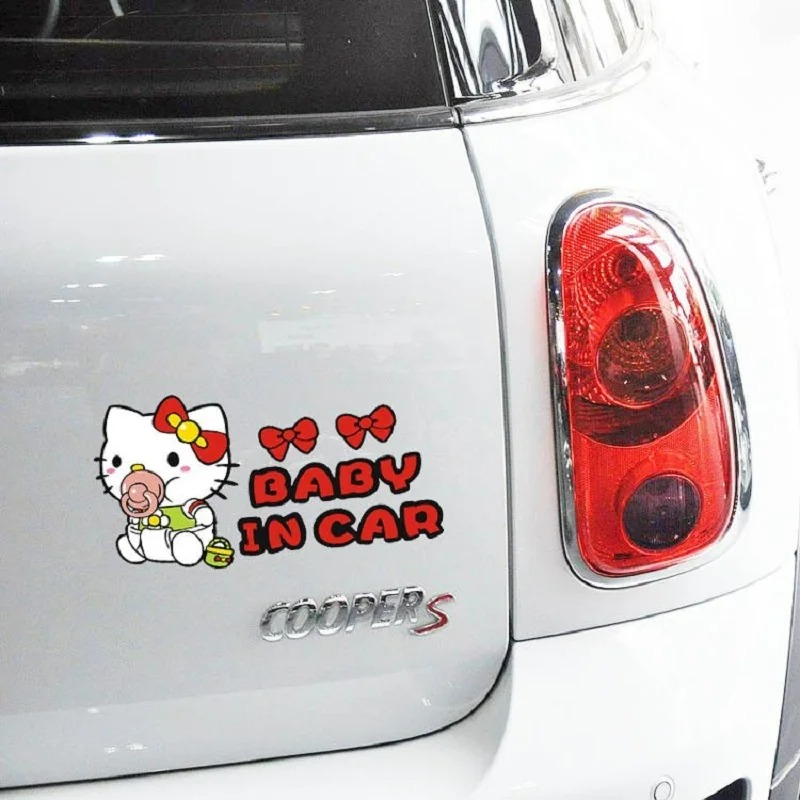
Gathering Necessary Tools and Materials
Successful application of Hello Kitty car stickers requires the right tools and a clean, well-prepared environment. Gather all necessary materials before beginning to streamline the process and prevent mishaps.
You will need:
- A clean microfiber cloth
- Mild detergent and water
- Isopropyl alcohol solution (optional for extra cleaning)
- A squeegee or credit card
- Masking tape or painter’s tape
- A sharp cutting tool like a craft knife or scissors
- A plastic or rubber spatula (optional for large decals)
- A ruler or measuring tape
Start by cleaning the application area thoroughly to remove any dirt, grease, or wax. Mix a small amount of mild detergent with water and use a microfiber cloth to wipe down the surface. For better adhesion, you can follow up by wiping the area with isopropyl alcohol. Ensuring that the surface is completely clean and dry before applying the decals reduces the risk of issues such as air bubbles or weak adhesion.
Having these tools ready makes the application smoother, resulting in professional-looking decals that enhance your car without compromising the paint.
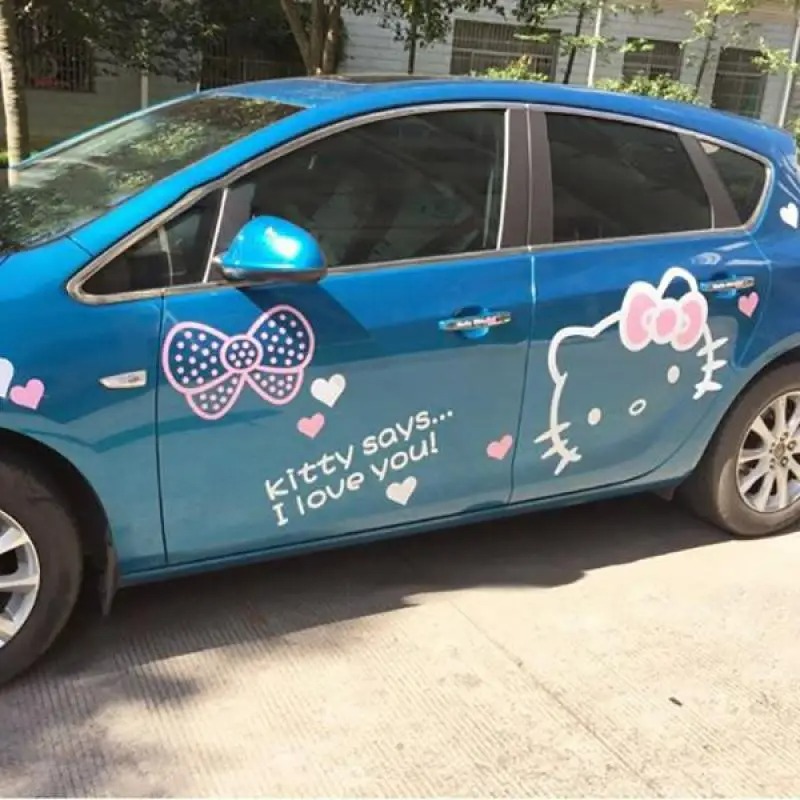
Preparing the Surface: Cleaning and Measuring
Proper surface preparation is paramount for successful sticker application and helps avoid paint damage. Starting with a thorough cleaning ensures optimal adhesion and a smooth, blemish-free finish.
Begin by washing the application area with a mixture of mild detergent and water to eliminate grime and surface contaminants. Rinse thoroughly with clean water and allow it to dry fully. For a more thorough clean, wipe the area with an isopropyl alcohol solution, which helps remove any wax residue and soap film. Ensure the surface is completely dry before proceeding, as moisture can prevent proper adhesion.
Next, measure the area where you plan to place the Hello Kitty sticker. Use a ruler or measuring tape to determine the exact placement and mark the spot using masking tape or painter’s tape. This step ensures that you position the sticker correctly on the first try, minimizing the need for adjustments that could potentially damage the paint.
Taking the time to properly prepare the car’s surface guarantees that your Hello Kitty sticker will adhere correctly and look flawless, without causing harm to the vehicle’s exterior.
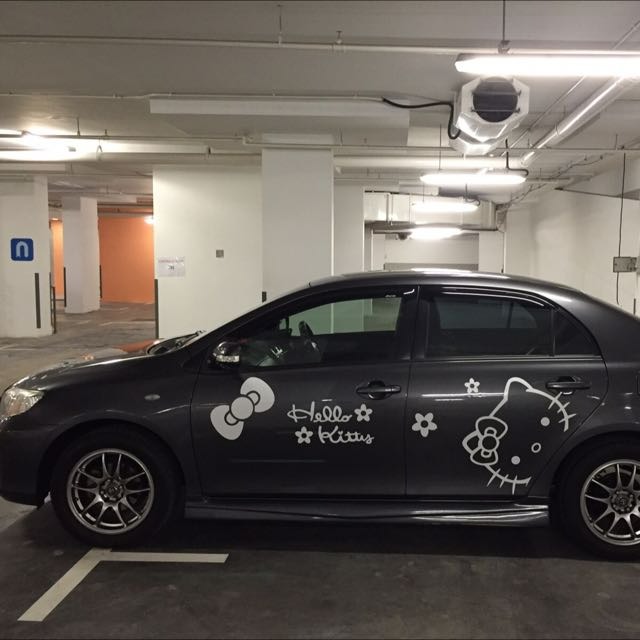
Application Techniques: Placing the Hello Kitty Car Sticker
When it comes to applying your Hello Kitty car stickers, patience and precision are key. Following these techniques ensures a bubble-free application that adheres well and looks professional.
- Positioning: Peel a small portion of the backing paper away from the top of the sticker and place it on the pre-marked spot on the car. Use masking tape to hold the top of the sticker in place, creating a hinge effect.
- Smoothing: Slowly peel back the backing paper, pressing the sticker onto the car’s surface from top to bottom. Use a squeegee or credit card to smooth out the sticker as you go, applying steady pressure to eliminate air bubbles and ensure even adhesion.
- Corners and Edges: Pay special attention to corners and edges, pressing firmly and smoothing them out thoroughly. This step is crucial as these areas are more prone to lifting if not adequately adhered.
- Inspection and Adjustments: Once the sticker is fully applied, check for any bubbles or wrinkles. If you find small bubbles, you can gently press them out with the edge of a squeegee or make a tiny pinprick in the bubble and smooth it out from the center.
Avoid stretching or pulling the sticker excessively, as this could result in deformation and reduced adhesion. By meticulously applying the Hello Kitty sticker with care, you ensure a seamless and long-lasting decoration that maintains your car’s visual integrity.
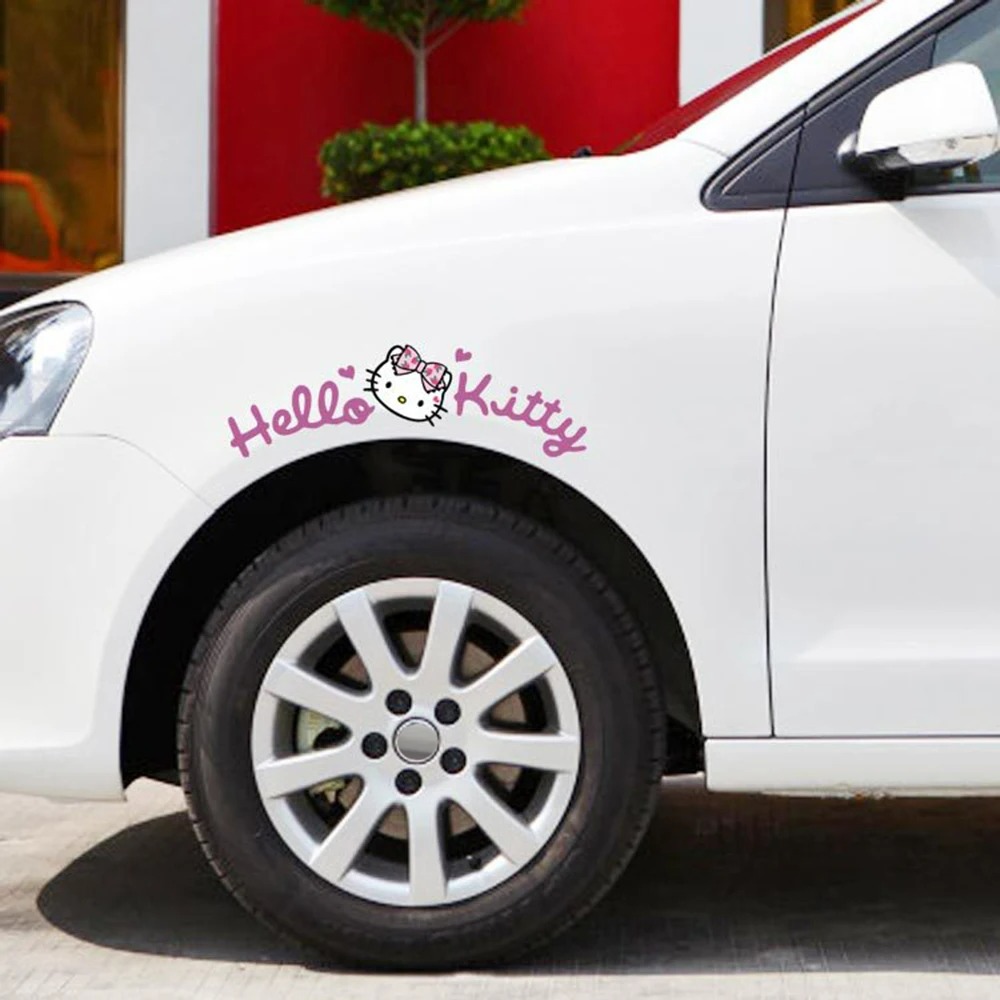
Troubleshooting Common Problems
Despite thorough preparation and careful application, you might encounter occasional issues. Knowing how to troubleshoot these problems can help preserve the finish and appearance of your Hello Kitty car stickers.
Bubbles and Wrinkles
- Diagnosis: Air trapped under the sticker creates unsightly bubbles and wrinkles, often due to uneven application or surface contaminants.
- Solution: Use a squeegee or credit card to gently push the air bubbles to the edges. For stubborn bubbles, use a pin to puncture the bubble and then smooth it out. Ensure to clean the surface and sticker thoroughly before application to prevent dust or dirt from causing these issues.
Weak Adhesion
- Diagnosis: The sticker may not adhere properly if the surface is not clean or if environmental factors like temperature and humidity affect the adhesive.
- Solution: Re-clean the area using an isopropyl alcohol solution to remove any residue and try applying the sticker in a temperature-controlled environment.
Peeling or Lifting Edges
- Diagnosis: Edges start to lift due to improper smoothing or insufficient pressure during the application.
- Solution: Press the edges back down using a plastic spatula or squeegee, applying firm, even pressure all around the edges. If the problem persists, consider using a bit of adhesive promoter around the edges to enhance the stickiness.
Alignment Issues
- Diagnosis: Misaligned stickers result from insufficient planning or measuring.
- Solution: Take your time during the positioning step. Use masking tape guides to ensure precision. If already applied and misaligned, gently peel back and reapply, being cautious to avoid stretching the sticker.
By addressing these common problems methodically, you can ensure your Hello Kitty car stickers remain flawless and firmly adhered without compromising your car’s paint.
Maintenance Tips for Long-Lasting Hello Kitty Car Stickers
Maintaining the appearance and adhesion of your Hello Kitty car stickers ensures they continue to enhance your vehicle for years to come. Proper care and periodic inspection are key to longevity.
Regular Cleaning
Keep the stickers clean by gently washing them with a mild detergent and water. Avoid high-pressure washers directly on the stickers, as the force can cause them to peel or lift. Rinse thoroughly to remove any soap residue, and dry with a microfiber cloth.
Avoid Abrasive Materials
Use non-abrasive tools and cloths when cleaning the stickers to avoid scratching or damaging their surface. Abrasive materials can wear away the protective layer, leading to fading and reduced adhesion.
Protection from Elements
Consider applying a UV-protectant spray specifically designed for car stickers. This spray shields your Hello Kitty stickers from harmful UV rays, preventing them from fading or discoloration over time. Additionally, during extreme weather conditions, cover your vehicle whenever possible to protect the stickers.
Inspect and Repair
Periodically inspect the stickers for any signs of lifting, peeling, or damage. Address any issues promptly by pressing down the edges or smoothing out bubbles to prevent further deterioration. For significant damage, remove the sticker and reapply a new one to maintain the vehicle’s aesthetic.
By incorporating these maintenance tips into your regular car care routine, you can extend the life and vibrancy of your Hello Kitty car stickers, keeping your vehicle looking stylish and well-groomed.
Removing and Reapplying Hello Kitty Car Stickers
At times, you may need to remove or reposition your Hello Kitty car stickers, whether due to wear, a change in style preference, or to ensure optimal placement. Removing stickers without damaging your car’s paint requires careful attention and the right techniques.
Removing Stickers
- Heat Application: Gently warm the sticker with a hairdryer on the low setting. This softens the adhesive, making it easier to peel off without leaving residue or damaging the paint.
- Peeling: Start peeling from one corner, lifting off the sticker slowly. Use your fingers or a plastic spatula to guide the sticker away from the surface.
- Adhesive Removal: If adhesive residue remains, apply an adhesive remover or isopropyl alcohol to a cloth and gently rub the area until clean. Wash the area with mild soap and water, and dry thoroughly.
Reapplying Stickers
- Clean the Area: Prepare the surface as previously mentioned, ensuring it is free of dirt, grease, and old adhesive.
- Follow Application Steps: Reapply the sticker using the same careful techniques detailed earlier in this guide. Measure and position the sticker correctly before pressing it down.
Removing and reapplying stickers can be done without damaging your car’s paint when performed with care, allowing for customization flexibility and the ability to refresh the look of your vehicle with new designs or updated placements.
Conclusion: Stylish and Safe Application of Hello Kitty Car Sticker
Applying Hello Kitty car sticker can significantly enhance your vehicle’s appearance, offering a blend of personal style and vibrancy. Following this detailed guide ensures that stickers adhere properly without damaging your car’s paint. From selecting high-quality stickers and preparing the surface to applying and maintaining the decals, each step is critical for achieving a professional and durable finish. By addressing common problems and leveraging proper techniques, you ensure that your Hello Kitty car stickers not only look fantastic but also stand the test of time. Enjoy the transformation and drive your uniquely styled vehicle with pride!